
The Electronics Manufacturing Steps of PCBA Circuit Board

The Electronics Manufacturing Steps of PCBA Circuit Board include the following 11 main points
1. Solder Paste Stenciling
First and foremost, the PCB HERO applies a solder paste to the printed circuit board. In this process, you need to put solder paste on certain portions of the board. That portion holds different components.
2. Pick and Place
After the successful completion of the first step, the pick and place machine has to do the next job. In this process, manufacturers place different electronic components and SMDs on a circuit board. Nowadays, SMDs are accountable for non-connector components of boards. You will learn how to solder these SMDs on the board in the upcoming steps.
3. Reflow Soldering
After placing the components in their right place, manufacturers solidify the solder paste. They can accomplish this task through a “reflow” process. In this process, the manufacturing team sends the boards to a conveyor belt.
4. Inspection and Quality Control
After mounting the components in the reflow process, you need to inspect the board for flaws. In this process, manufacturers also test for the functionalities of the board. During the reflow process, many boards come with poor connections or become short. In simple words, there can occur a lot of connection problems during the previous step.
5. Manual Check
Even in the era of automated manufacturing and testing, manual checking still has significant importance. However, manual checking is most effective for small-scale PCB PCBA. Therefore, this way of inspection becomes more inaccurate and impractical for large-scale PCBA circuit boards.
6. Automatic Optical Inspection
For a large batch of PCB PCBA, this method is one of the finest options for testing. In this way, AN AOI machine inspects PCBs using plenty of high-powered cameras.
7. X-Ray Inspection
It is another method for board testing. This method is less common but more effective for complex or layered circuit boards. The X-ray helps manufacturers to examine lower-layer problems.
8. Insertion of Through-Hole Component
The electronic components vary from board to board depending on the type of PCBA. For example, the boards might have different types of PTH components.
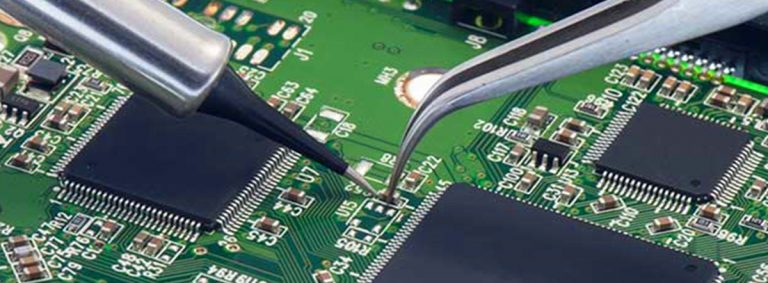
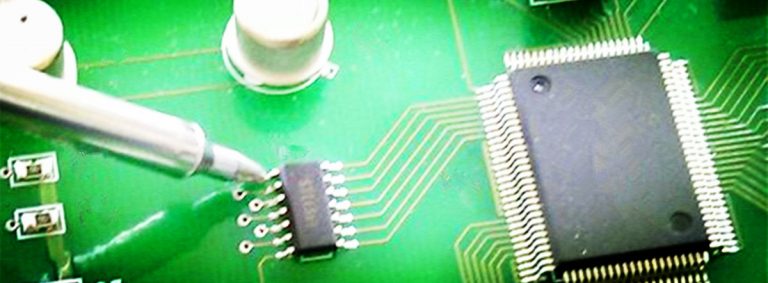
9. Manual Soldering
This process is very simple and straightforward. At a single station, one person can easily insert one component into an appropriate PTH. Then, the person will pass that board to the next station. There will be many stations. At each station, a person will insert a new component.
10. Wave Soldering
It is an automated way of soldering. However, the process of soldering is completely different in this technique. In this method, the boards pass through an oven after putting on a conveyor belt. The oven contains molten solder. And, the molten solder washes the circuit board. However, this type of soldering is almost not practicable for double-sided circuit boards.
11. Testing and Final Inspection
After the completion of the soldering process, PCBAs pass through the final inspection. At any stage, manufacturers can pass circuit boards from the previous steps for the installation of additional parts.